


The "Little Kid" Forehand Model
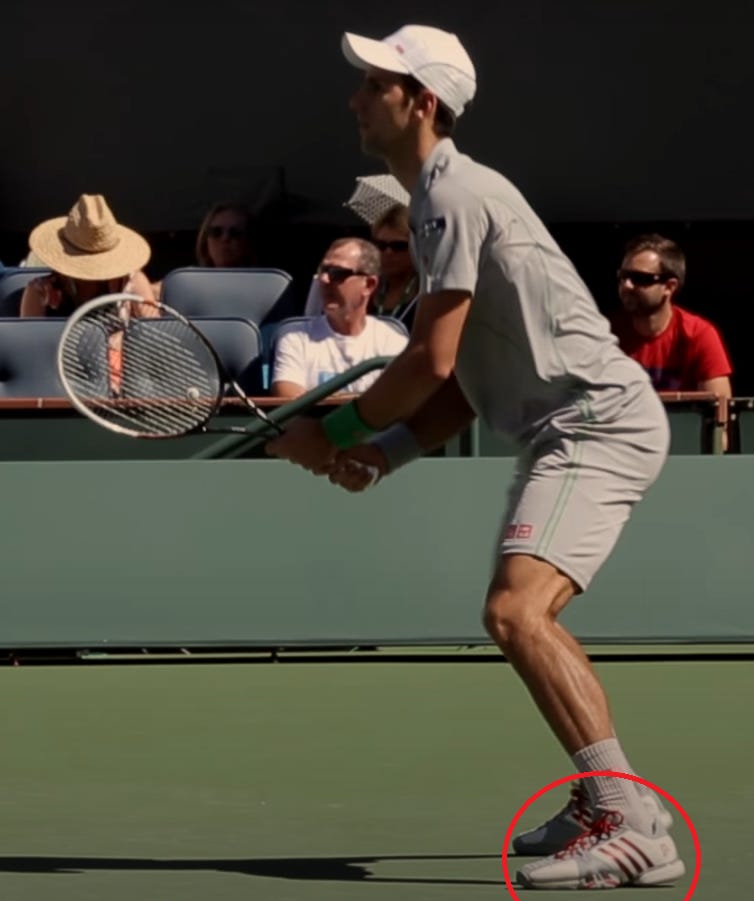
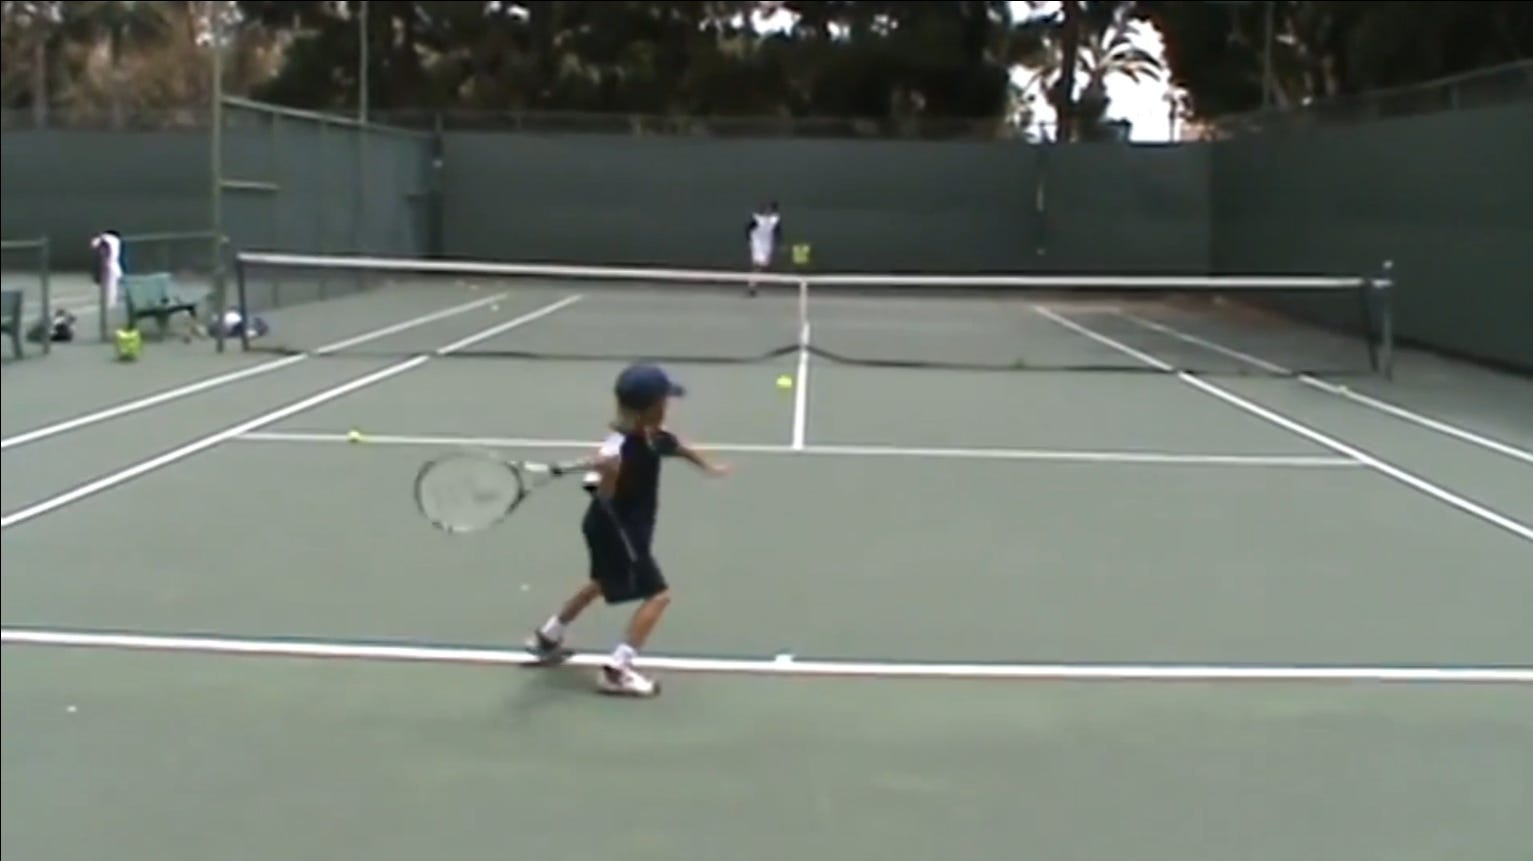
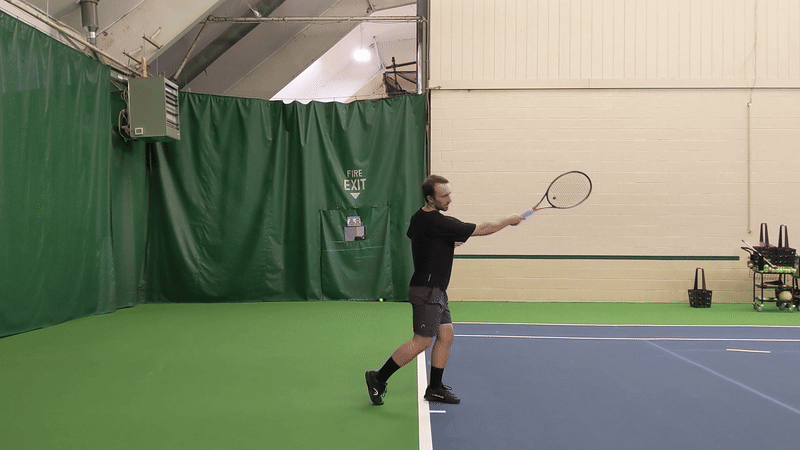
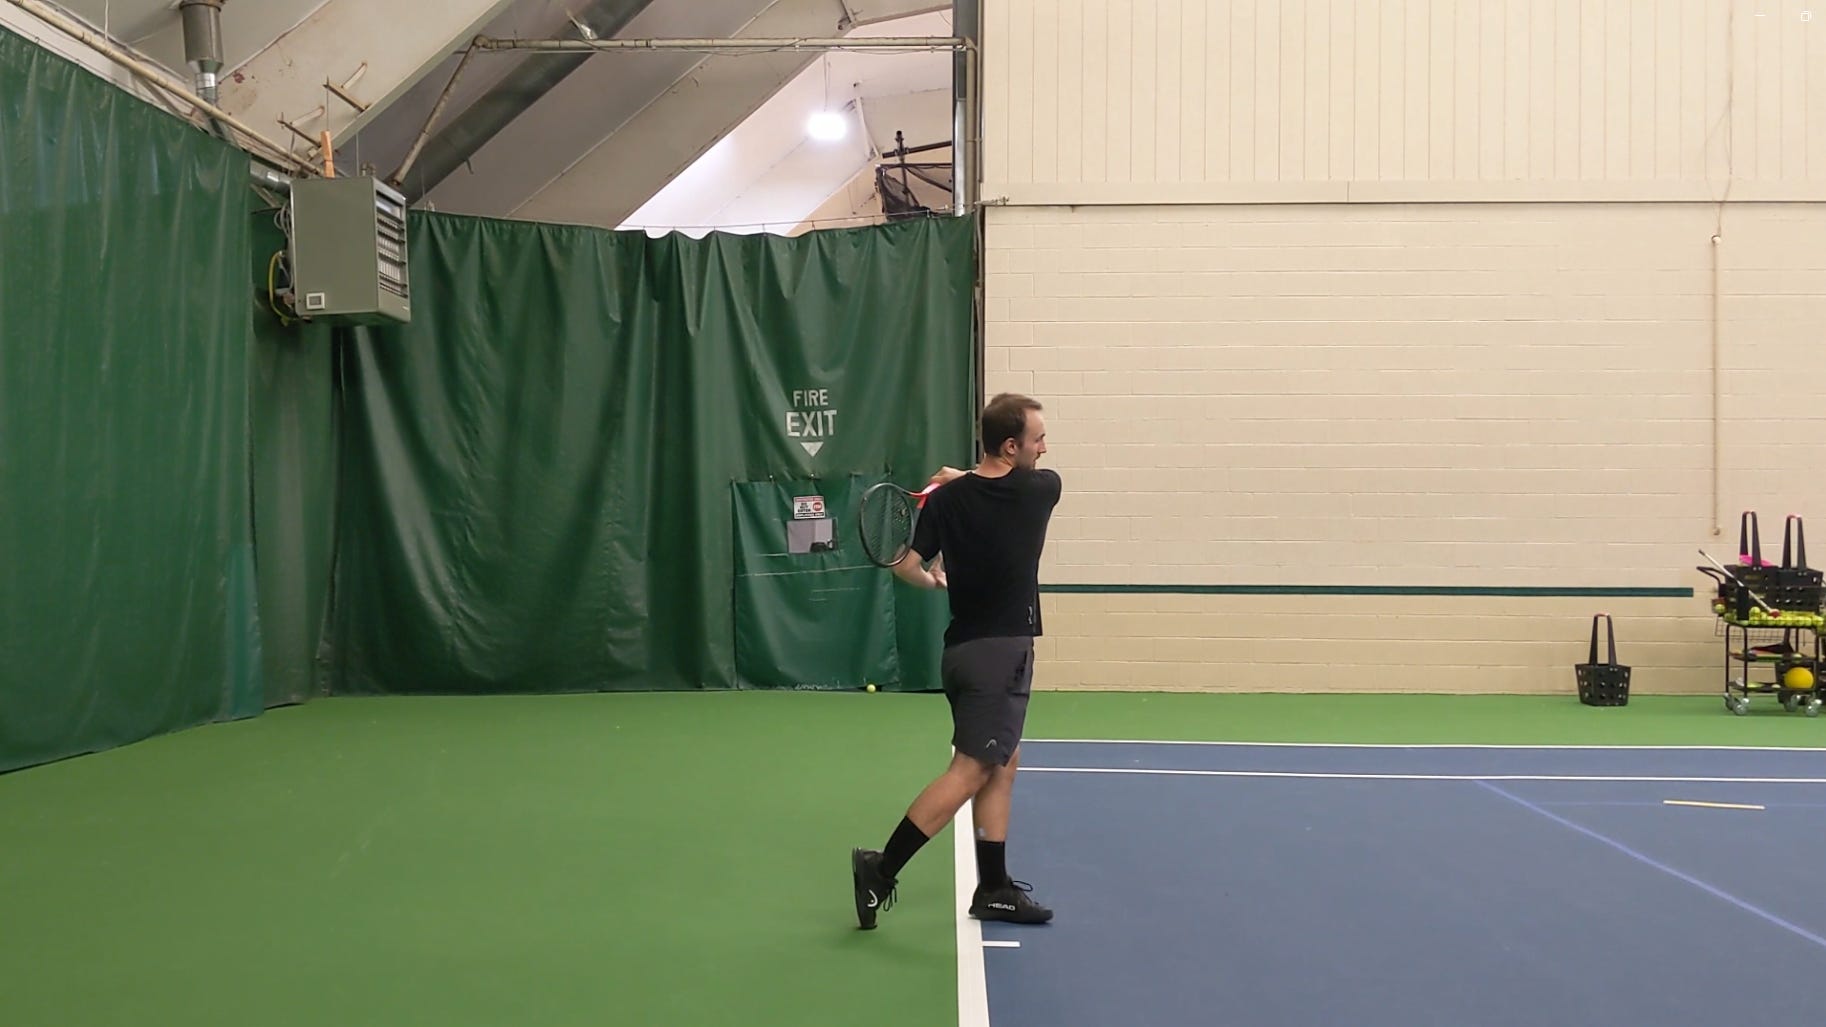
Federer at 8

In this article I will explain the model that I use when teaching the forehand groundstroke to children. I prefer beginners to first learn a flatter forehand, in order to minimize the number of moving parts, as well as to teach the player to hit through the line of the ball. Furthermore, young children are better at creating horizontal force (rotation around the midline of the body) than vertical (in this case, internal shoulder rotation), facilitating a flatter swing path.
This type of forehand is simple, repeatable, functional, and scalable, as well as easily taught to young players.
In solidifying and evaluating this model, I researched two questions:
What did top pros’ forehands look like as kids?
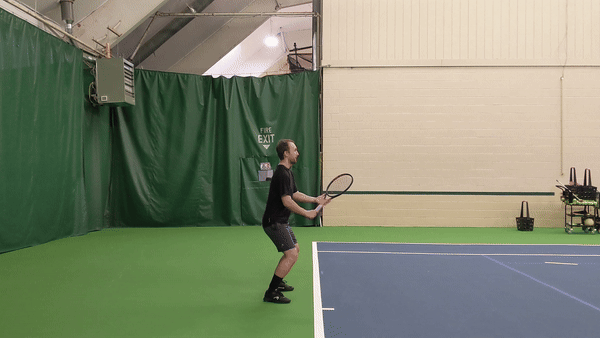
-Roger Federer
-Jannik Sinner (11 y/o)
-Zach Svajda (6 y/o)
-Learner Tien (<9 y/o)
-Taylor Fritz (<12 y/o)
What do the current top juniors’ forehands look like?
-Teodor Davidov (<8 y/o)
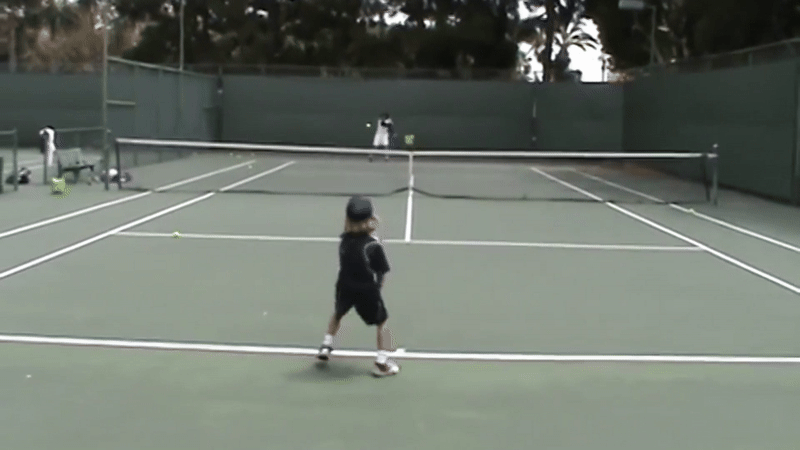
-8-Year Old “Youtube Tennis Prodigy”
-Clervie Ngounoue (6 y/o)
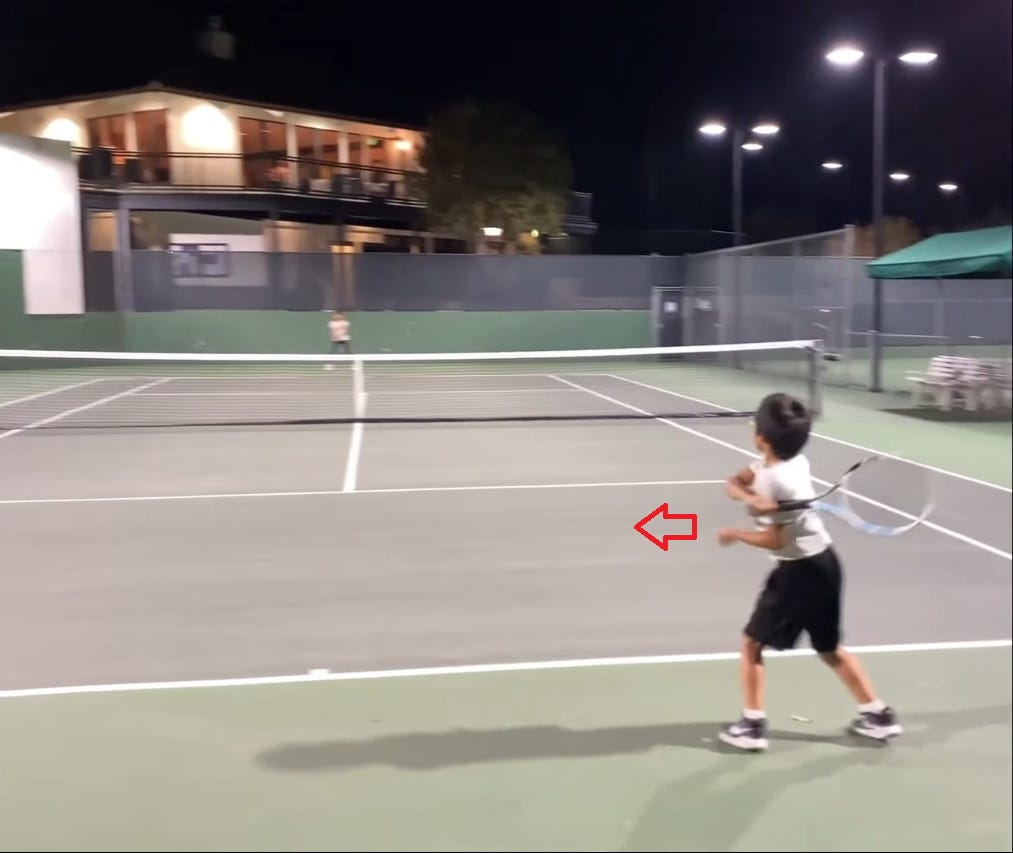
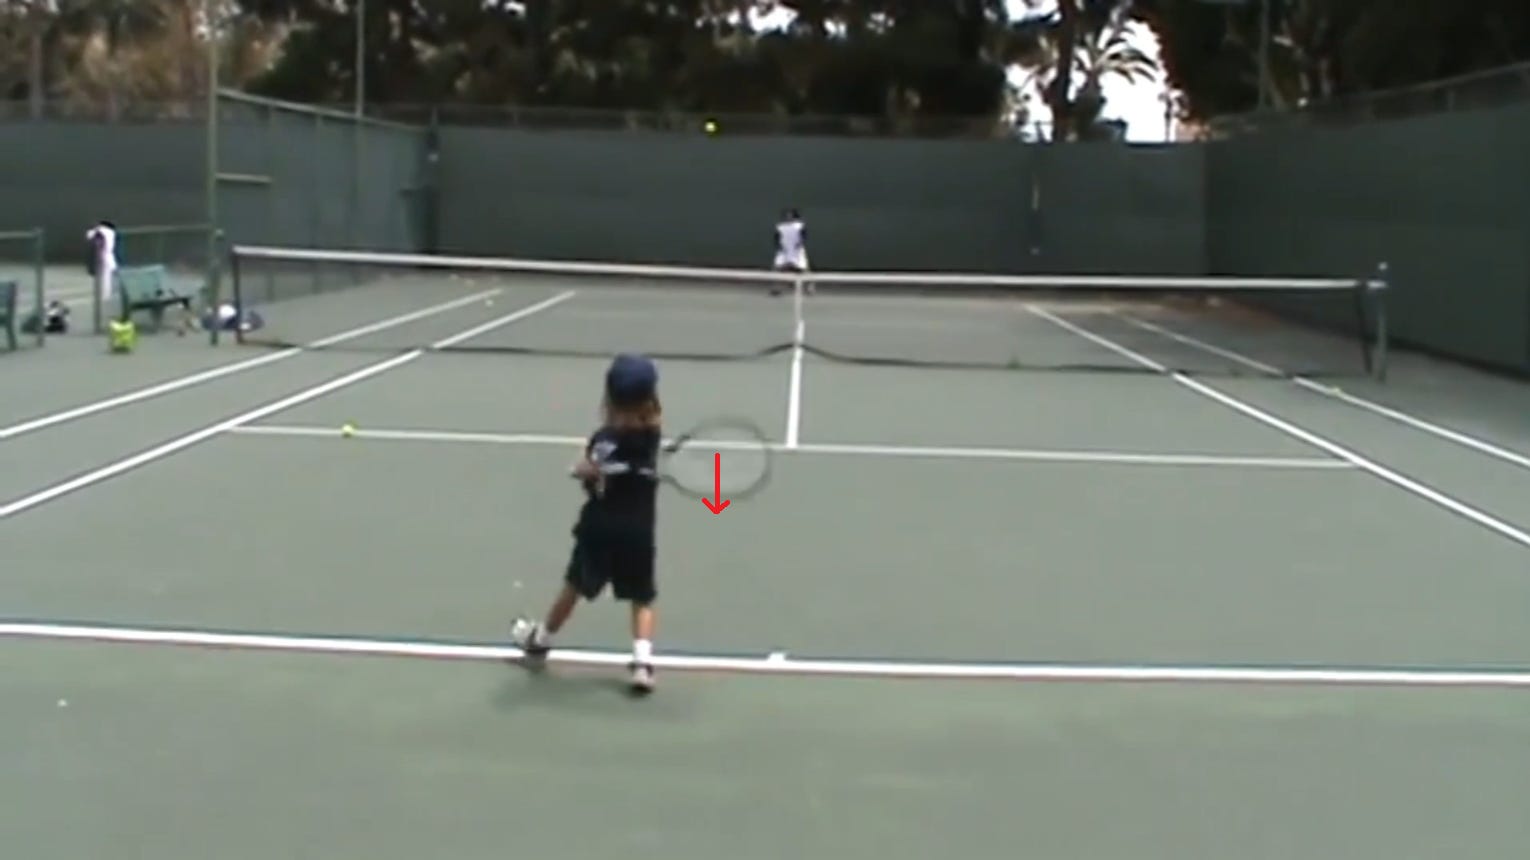
As you can see, the above players’ forehands have many shared elements, namely:
-A looped backswing.
-An extended wrist throughout takeback.
-The racket crossing the sagittal plane during the backswing.
-A bent arm during the forward swing and through contact.
-A Semi-Western to Western grip.
-Direct entry into the slot position from the takeback.
My opinion is that the above technique’s ubiquity among young players is a sign that it is optimal for their age and size.
Why use a model?
The model is a tool for evaluation and the establishment of a baseline technique. Like a jazz musician improvising around chord progressions, the model creates a foundation of success from which the player can experiment and build their own swing.
In my experience, there are many ways in which even well-meaning and educated coaches can slow a child’s development. When I was less experienced, I unintentionally hindered several players by trying to teach them advanced technique from the beginning. If a coach’s primary directive is to “Do no harm,” then we should instead seek to first provide the player something proven to be functional, scalable, and easily learned. For parents without coaching experience, this is doubly important.
Evaluating the Model
When evaluating children’s technique, I consider several questions, here applied to the “Little-Kid Forehand Model.”
Q: Is the stroke functional?
A: Yes. This stroke allows players to rally consistently, as well as to attack and defend. Though some would argue that it is sub-optimal, there are no technical problems with this forehand.
Q: Does the technique present any long-term issues?
A: No. Despite starting with this technique, all players were able to transition to more “adult” swings and compete at the highest level of tennis effectively. Furthermore, many top WTA players use a very similar, and in some cases identical, forehand technique, showing that this model can be effective well into the 12+ UTR range.
Madison Keys, for example, frequently has a higher average groundstroke speed than her male tour counterparts:
Q: Is the stroke teachable?
A: Yes. Again, this stroke is very natural for young players.
Shouldn’t we instead start the player with the technique they will use as an adult?
This question is addressed further in the article:

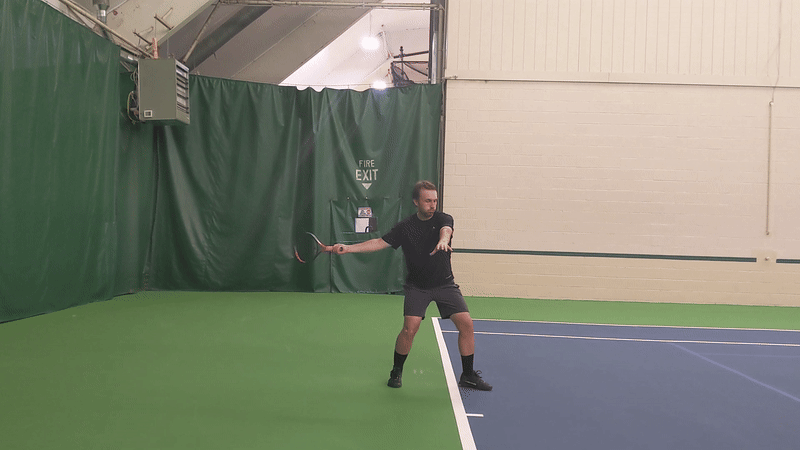
Explanation of the Model
My model for evaluating and teaching the forehand has 5 “snapshots” and 4 “transitions,” these being:
S1: Ready Position
T1: Unit Turn
S2: Rearmost Position of the Racket/Pre-Acceleration
T2: Forward Swing
S3: Contact
T3: Extension
S4: Forwardmost Position of the Racket
T4: Deceleration
S5: Finish
Many of the characteristics below are present in all high-level forehands; however, I have bolded the elements specific to the “Little-Kid Forehand.”
In order to keep things brief, I will NOT be addressing the movement of the legs or the different stances and contact moves that may be used on the forehand. These have been explained elsewhere.
S1: Ready Position

In the ready position, the knees are bent, the hips are hinged, and the back is straight but leaning forward into the court.

The player is on the balls of their feet, ready to move.
The player holds the racket with their top hand in their backhand grip OR at the throat of the racket, and their bottom hand in their forehand grip. In this case, the player’s forehand grip should be a semi-western.

The racket tip is above the hands.
The elbows and hands are out and away from the body.
T1: Unit Turn
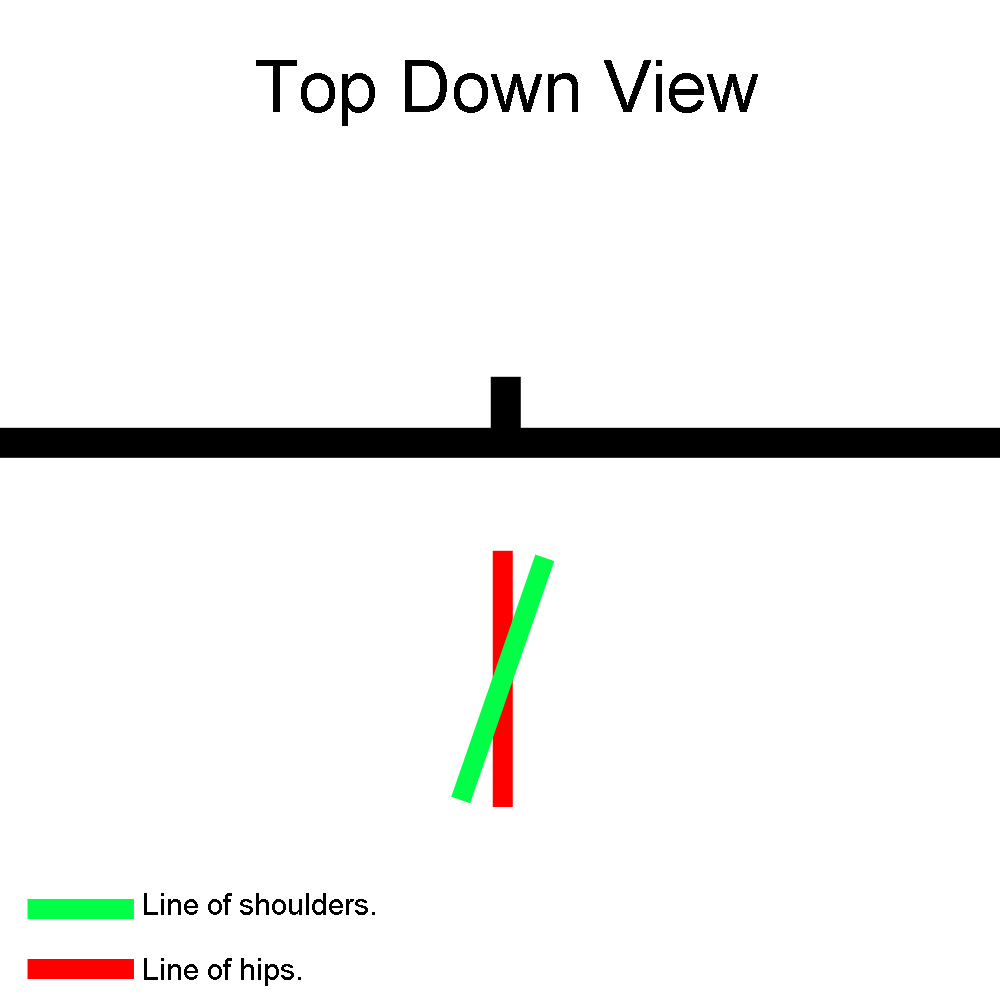
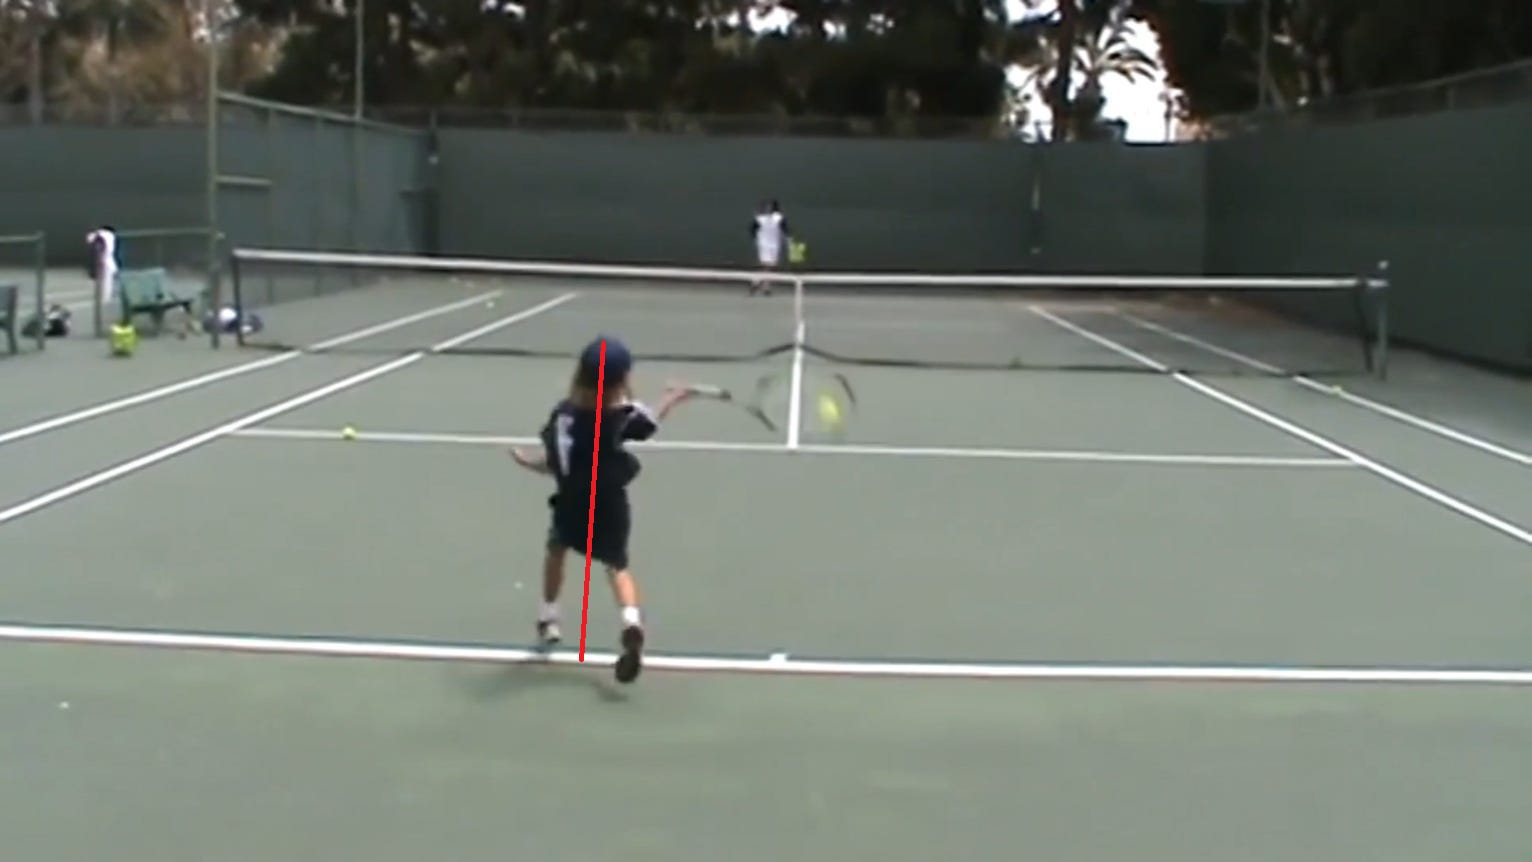
From the ready position, the player rotates their torso to a chin-on-shoulder position, side on to the incoming ball. At this point, the shoulders should be rotated around 110* from parallel with the baseline. The hips stay at 90* from the baseline, creating hip-shoulder separation.
The player keeps their non-dominant hand at the throat of the racket as they rotate, to ensure a good shoulder turn. The tip of the racket remains above the level of the hands during the takeback, and the path of the hands should be a slight upward arc. As the racket approaches its rearmost position, the hands separate.
As the hands separate, the racket arm externally rotates, causing the racket to reach its rearmost position, as described in the next section. The wrist remains extended.
As the racket nears its rearmost position, if using a neutral stance, the player steps forward with their dominant-side foot. The front foot’s toe should point at around a 45* angle from the baseline, to allow the body to rotate during the shot.
S2: Rearmost Position of Racket & Pre-Acceleration
The racket elbow should be bent within 110 to 140 degrees, as a 90* bend puts the upper arm too close to the torso, cramping the swing, and the use of a straight-arm (180*) makes it difficult for young players to effectively maneuver the racket (long levers).

There should be space between the elbow of the racket arm and the torso (shoulder abduction angle), the degree of which depends on the bend of the arm, which in turn depends on the grip used by the player. Players in eastern grips will generally have a larger shoulder abduction angle (upper arm further from the body) than those with more western grips.


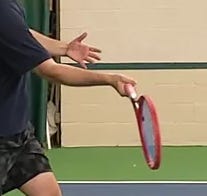
The wrist should be extended, the player’s racket on edge, and the hitting-side face perpendicular to the body. The tip of the racket should point behind and to the non-dominant side of the body.
(Note: The player should not hyperextend their wrist—if the player complains of pain, check the position of the wrist at the rearmost position of the racket.)

The non-dominant arm is extended across the body, and is relatively parallel to the ground.
In this flatter forehand, the tip of the racket does not drop significantly below the level of the hands, and the lowest position of the racket hand and tip are slightly below (around 20*) the level of where contact will be.


T2: Forward Swing
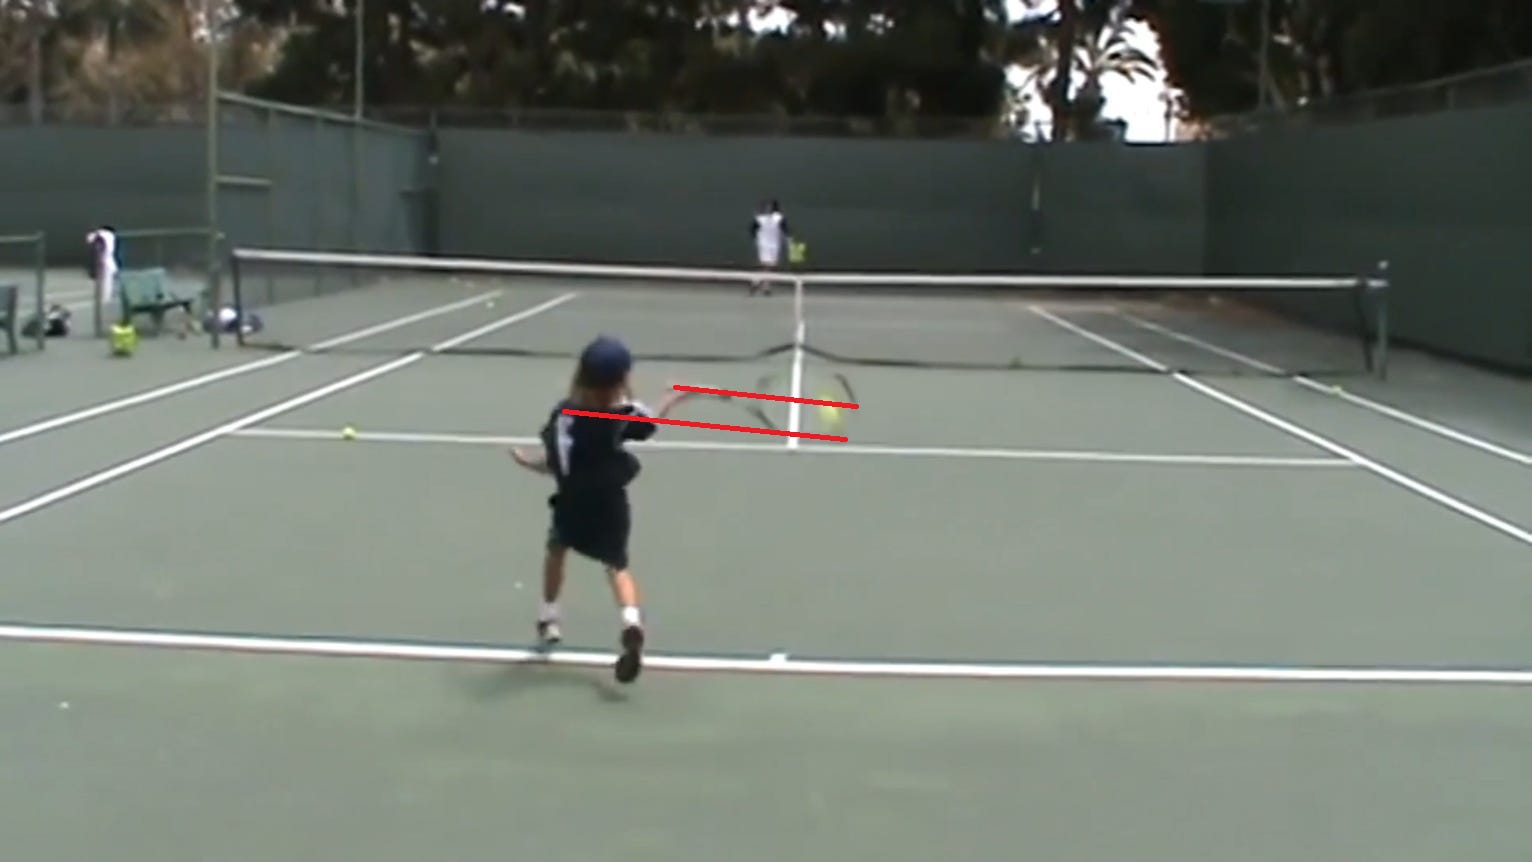
From the rearmost position, the player’s kinetic chain begins. The legs drive the ground to rotate the pelvis, and create back hip extension (regardless of stance), the upper trunk rotates as a result, causing the hand and therefore the racket to move toward contact with the buttcap leading (slot position). The non-dominant arm pulls across the body to facilitate this motion, bending at, and leading with the elbow.
During the forward swing through extension, the degree of bend at the hitting arm should not change.
The player’s head and gaze remain fixed throughout this portion of the swing, until the early extension phase.
S3: Contact

The dominant shoulder is rotated slightly past non-dominant shoulder, and the ankle-knee-hip chain drive is complete. The torso remains stable and upright.

Contact with the ball is in front of the body, the degree to which depends on the player’s grip and degree of elbow bend.
The wrist is extended at contact, with the forearm relatively perpendicular to the torso.

The racket is parallel to the shoulders at contact, with the strings pointing at the intended target. Players should attempt to contact the ball at a height between their knees and shoulders, depending on the grip used. Grips toward western will have higher contact points (6+ cm above hip) than eastern ones (4 cm below hip), (Elliott et al., 1989).
T3: Extension & S4: Forwardmost Position of Racket
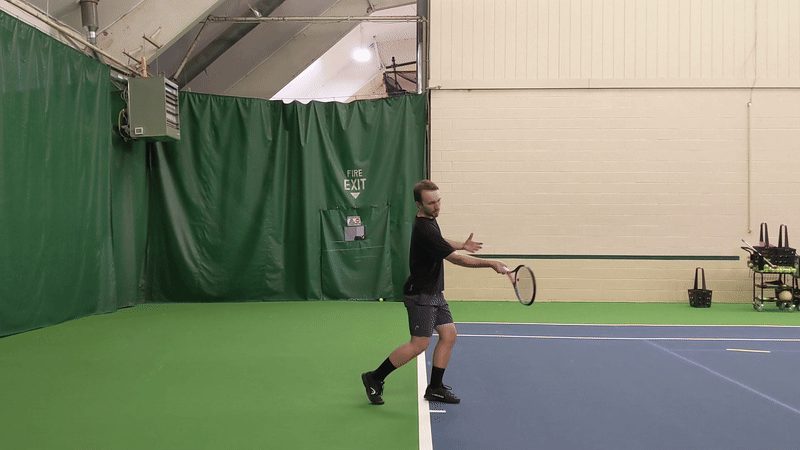
The racket extends forward and upward after contact.
During extension, the torso continues to turn toward the non-dominant side. The degree of elbow bend remains the same as it was at the beginning of the forward swing (i.e. not scooping or folding).
At the forwardmost position, the hitting side strings now face toward the non-dominant side, with the racket still on edge. This facilitates a flatter swing through the line of the ball, and uses less shoulder internal rotation.
The player’s wrist flexes from an extended position at contact to a neutral position at its forwardmost point.


T4: Deceleration & S5: Finish
After the racket reaches its forwardmost position, the shoulders continue to turn, and the racket arm bends at the elbow as it begins to wrap around the body, finishing at a 90* angle.

The torso continues to rotate, until it faces the non-dominant side, finishing with the player’s chin resting on their dominant-side shoulder. The shoulder should be abducted at around 90*.

The hitting-side racket face finishes pointing to the non-hitting-side fence or slightly behind the player.

Some younger players have difficulty decelerating the racket, leading to the racket finishing behind their body, with the strings pointing perpendicular to the net.
For more information on the forehand groundstroke, and the development of technique in general, I suggest Technique Development in Tennis Stroke Production by Elliott and Reid. This book is difficult to find in print; however, you can purchase an eBook version from the ITF’s Academy website.